TaxPro GST User Guide
How to File GSTR-1 Return
-
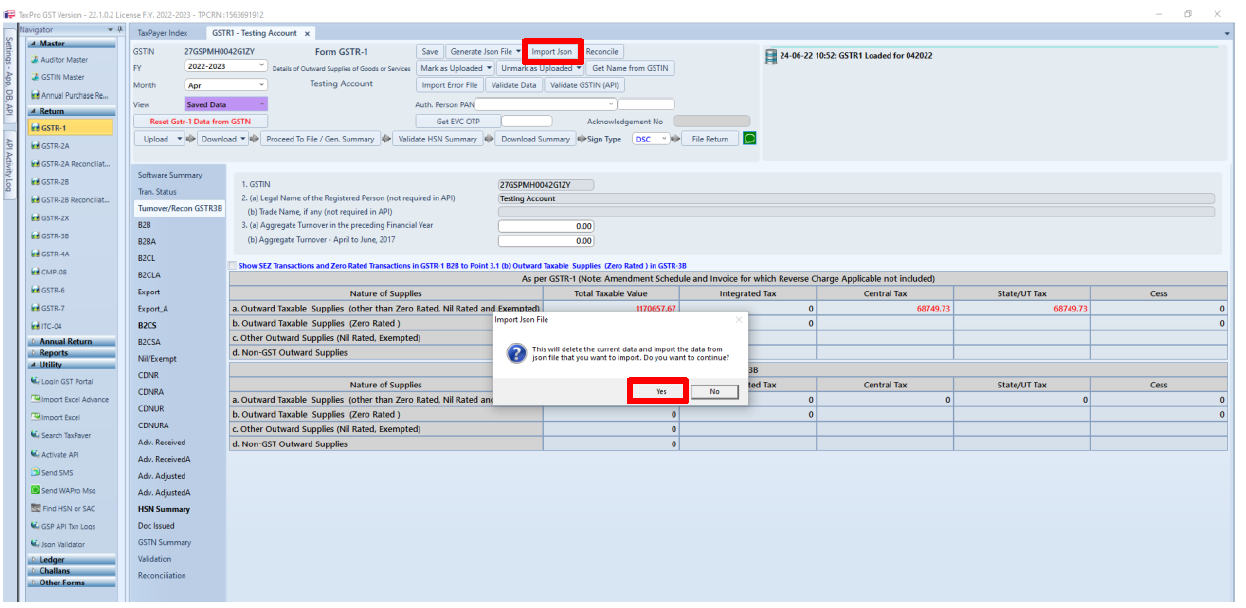
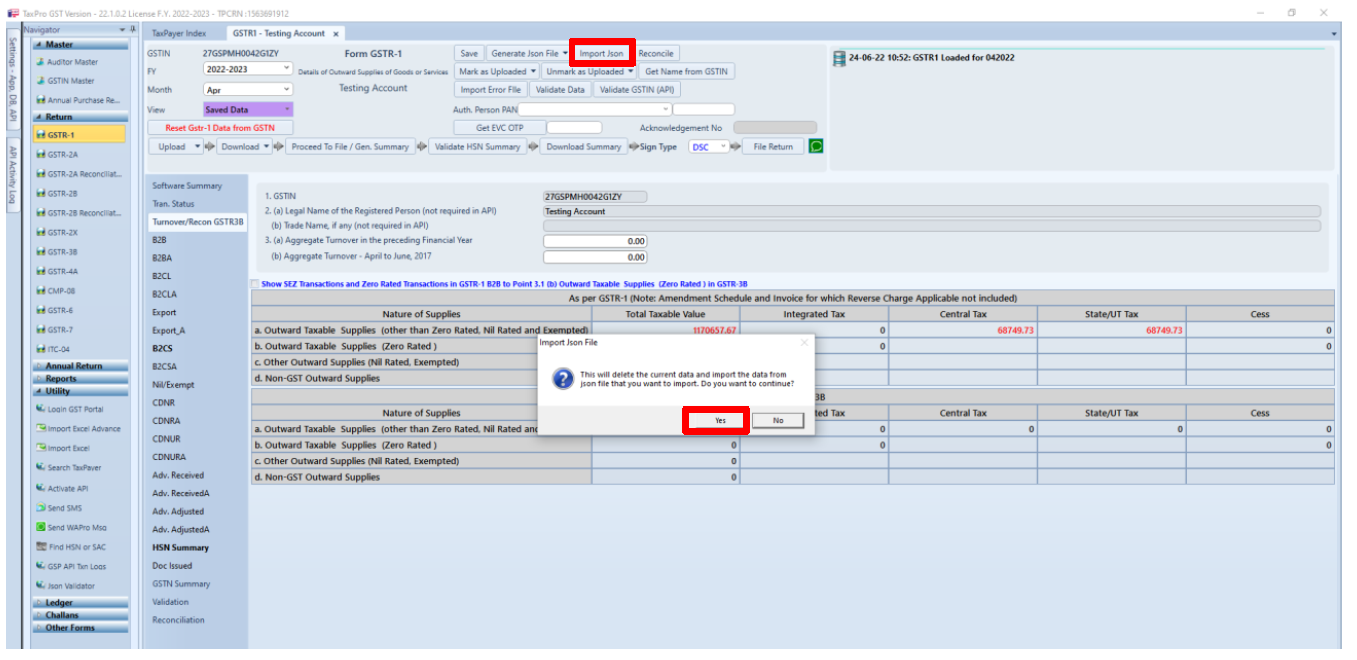
Click on GSTR-1 in Navigator Return panel, select year and month. One can import data using Json also, click on Import JSON and browse the Json.
-
Popup will appear for confirmation Read the message select Yes\No. If press Yes Data will be Imported Successfully.
-
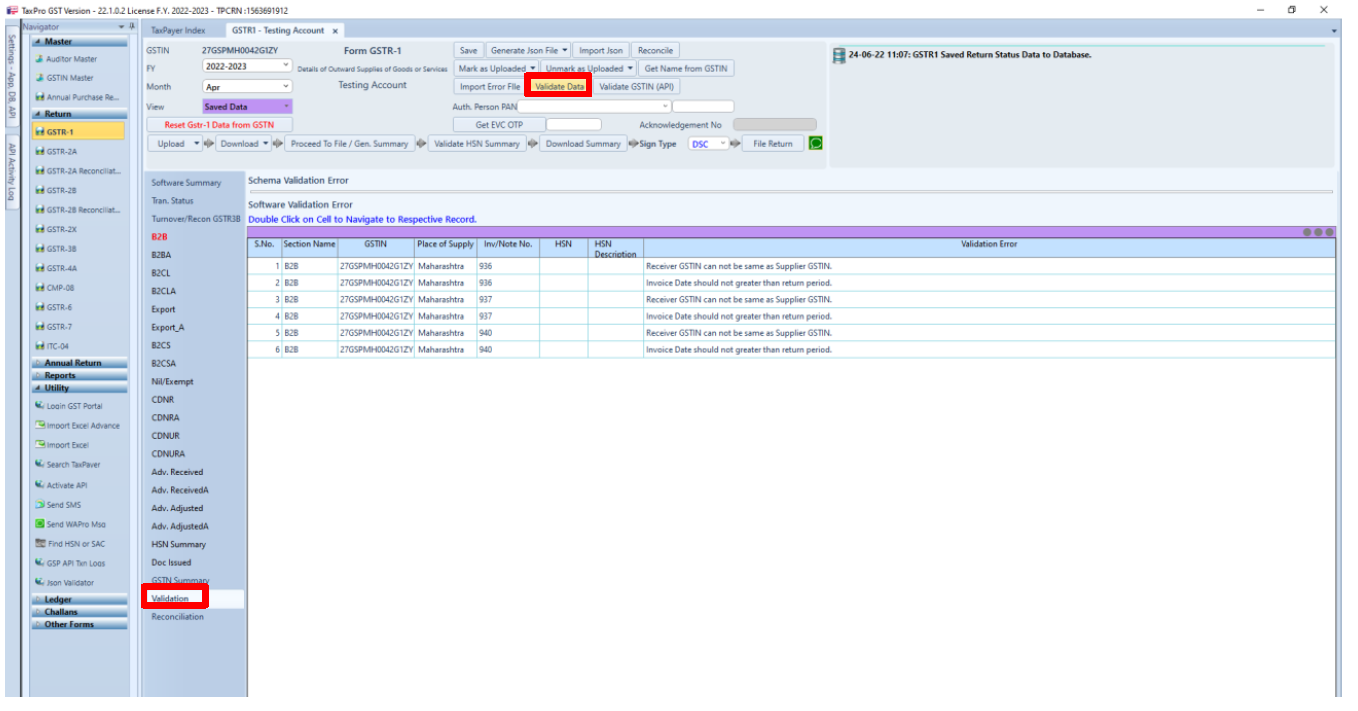
Import data will show in ‘Saved Data’, you can check data schedule wise or in Software Summary.
-
Click on Validate Data to check primary Validation, if there is any error it’ll shown in Validation Tab.
-
After confirming correct data Click on Upload and Select the schedule which you want to upload on GST Portal and again click on upload.
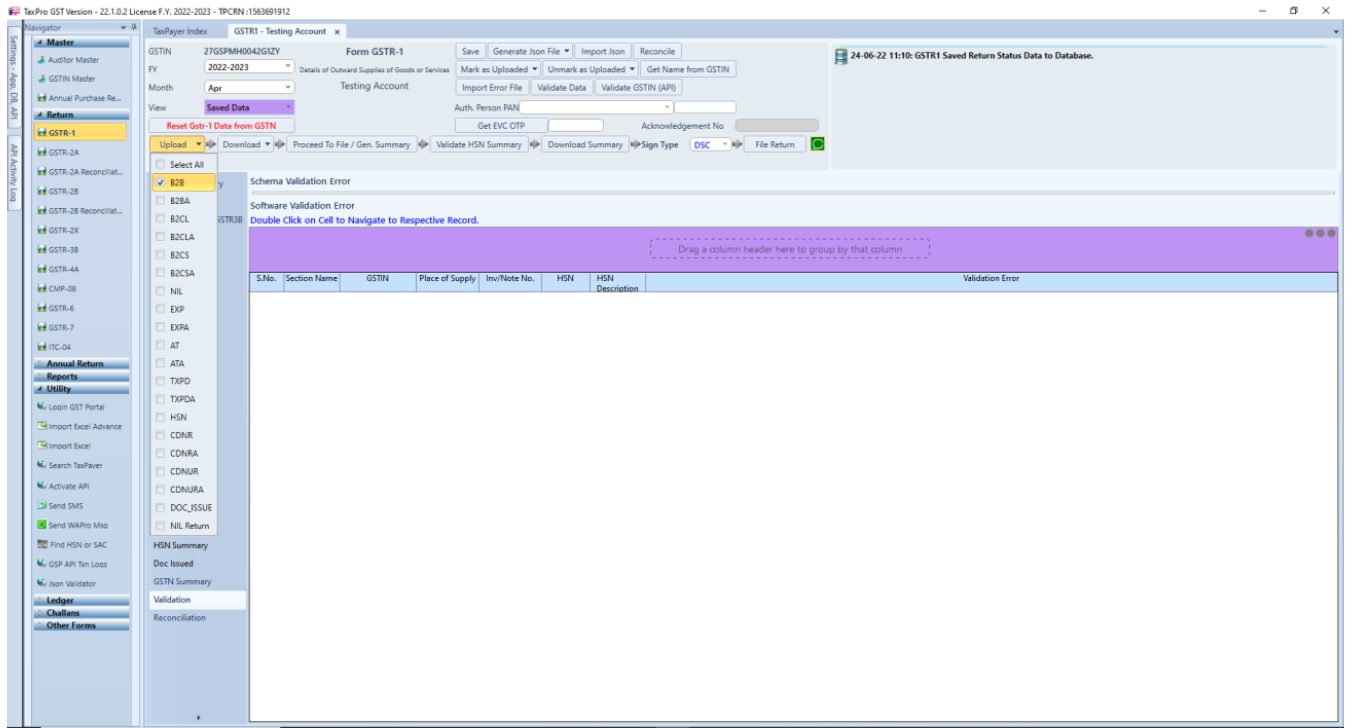
-
Confirmation message will appear about Whether you Want to Upload Data? Yes/No. Click Yes to Upload Data.
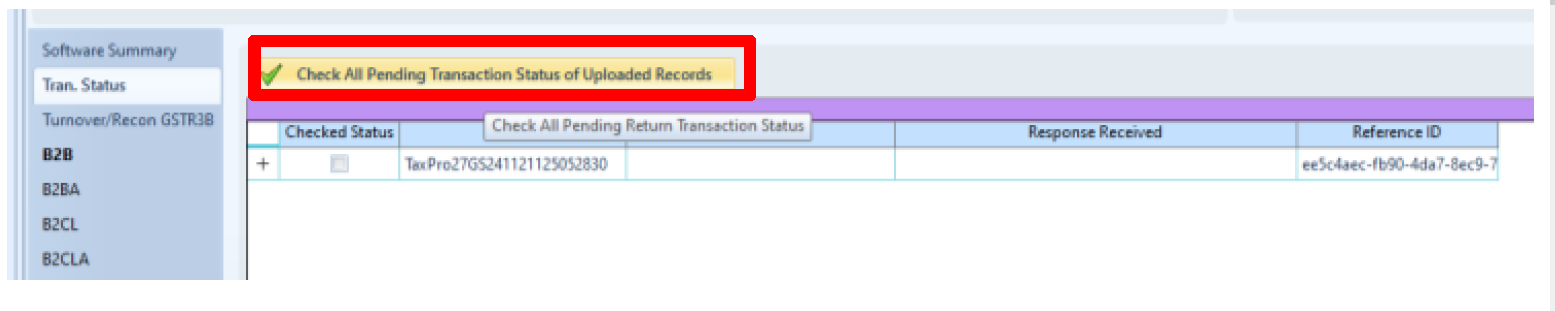
- After Uploading Data Reference ID will be Received in Transaction Status.
-
To Check the status of uploaded data click on Check All Pending Transaction of Uploaded Records under Trans. Status Tab.
-
If it status code shows PE- PROCESSED with Error then checks then highlighted (Red) Schedule and rectify the data. And if it shows P- PROCESSED that means data uploaded successfully on GST Portal and it has no error. If Processed with Error then Respective Schedule Marked with Red Color. You can correct the records in which error present and again upload it untill status becomes P- Processed.

-
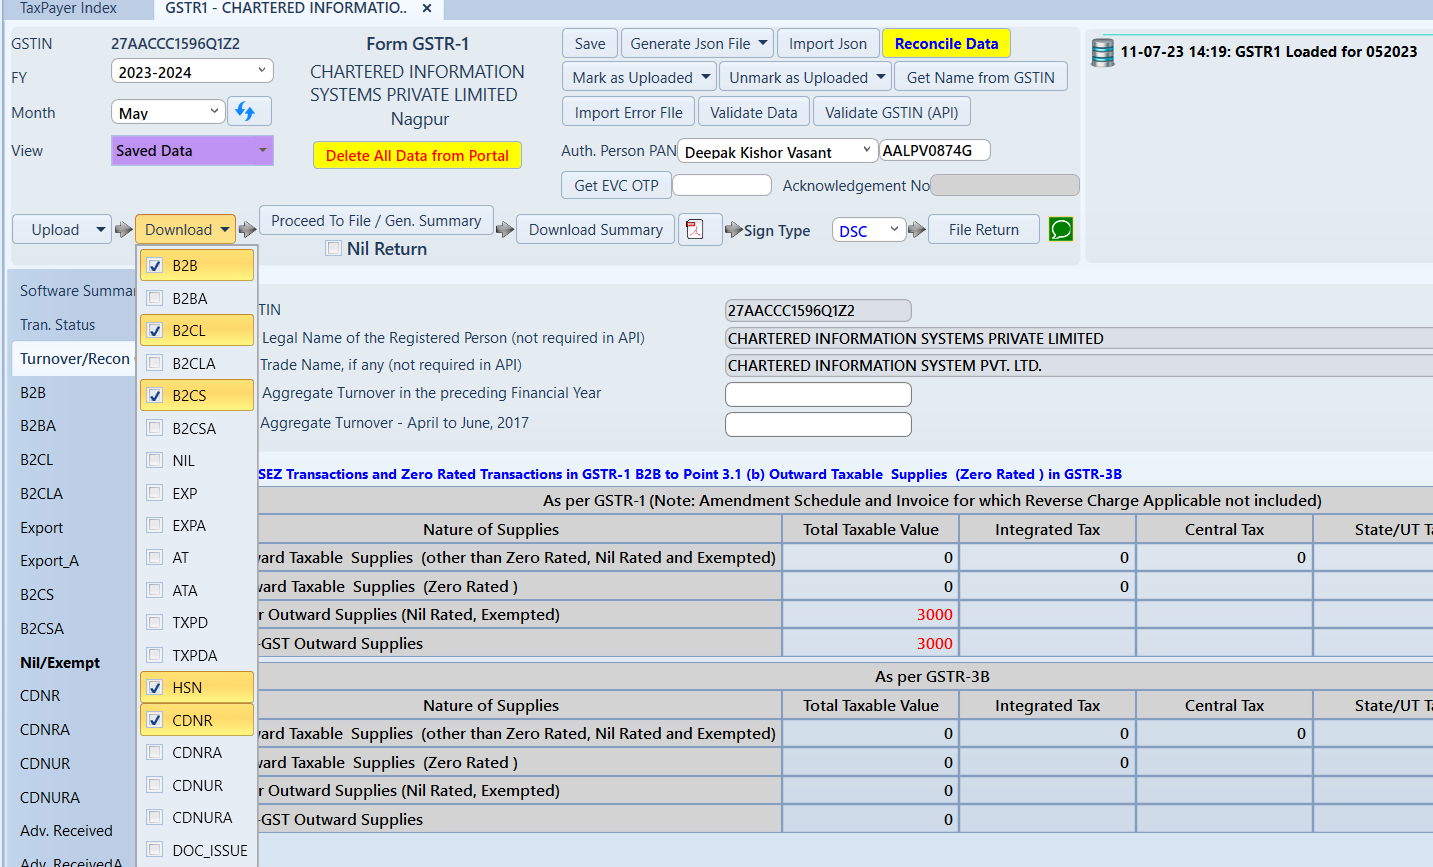
To get uploaded data from GST Portal click on Download Data and select the schedules for which you want to download data. Confirmation message will appear then click Yes.
-
You can check summary of your Saved Data and Download Data for any mismatch using Software Summary option.

-
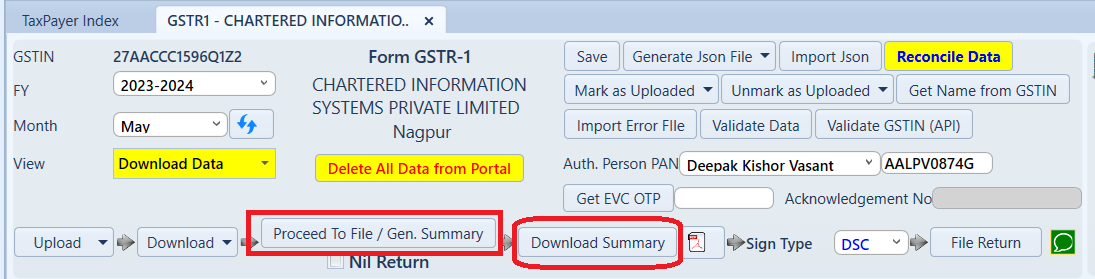
Click on Proceed to File/Gen. Summary button and then click on Download summary. Check Summary in GSTIN Summary Tab. If GSTIN Summary is correct the processed to File Return.
-
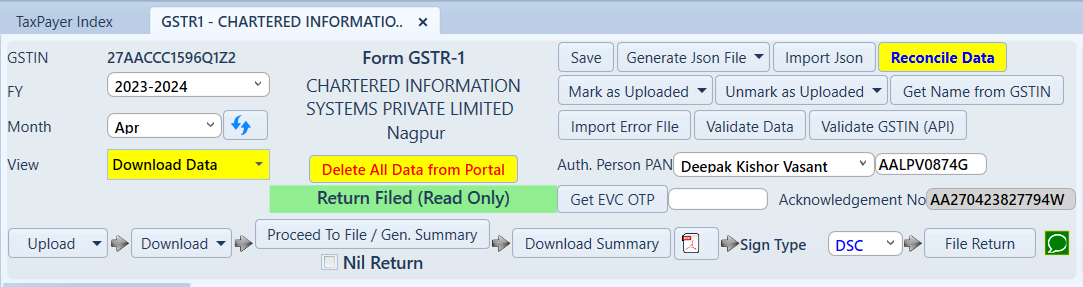
To File the return with EVC Select Auth. Person PAN. One can file return using EVC or DSC. Using EVC- click on Get EVC OTP, EVC OTP will be received on GSTIN portal’s registered Mobile number and Email. Enter the EVC OTP and click on File Return. To FIle the return with DSC Select Auth. Person PAN, Insert DSC Token and Click on File Return.
-
After Successful Filing Acknowledgement No. will Receive and Status will change to Return Filed.